Debug Agent installation guide
Quick Installation Guide
In order to set up the Debug Agent follow the next steps:
Debug Agent Setup
If you have purchased a DEV-BF5xxDA-Lite (DEV-BF548DA-Lite) board with the Debug Agent mounted on the bottom site of the board you can use it to download and debug your software with the VDSP++ development environment from Analog Devices. An evaluation version is included in the support CD or you can download it from the website from Analog Devices. Please note, if you use VDSP++ V5.0 with Update 2 you have to install the patch from the folder VDSP++5.0-Update2-Patch.
Please follow the instructions for installing and configuring VDSP++ to work with the Debug Agent.
1. Install VDSP++5.0
2. If available install the latest update for VDSP++5.0. You can download updates from the Analog Devices website.
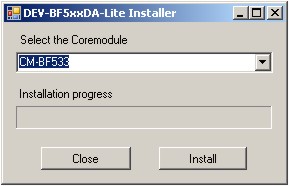
3. Configure VDSP++5.0 to support the DEV-BF5xxDA-Lite by starting the Installer from your support CD. Once started you should see the following dialog. You can als get the most recent VDSP++Configurator_V2.0.zip from the web [1]
4. Select the core module that you have inserted in the socket of your DEV-BF5xxDA-Lite.
5. Press the "Install" button. If the installation fails, you can install the driver directly by executing the respective *.reg file.
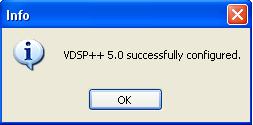
6. You should get the following message:
7. Be sure that the board is powered on!
8. Connect X4 (USB JTAG) with an USB cable to a free USB port on your PC (X7 for the DEV-BF548DA-Lite).
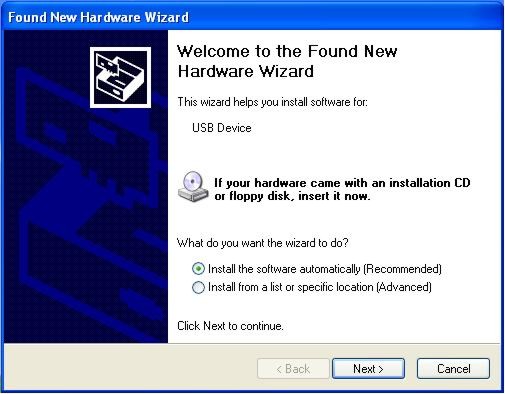
9. The following dialog or a similar one should appear:
10. Choose "Install the software automatically", press "Next" and follow the instructions on the screen.
After the install process you have to create a Platform using the Platform Wizard of the VDSP++. Please follow the instructions to create a valid Platform for the Bluetechnix USB Debug Agent.
1. Open the VisualDSP++ Configurator from the start menu entry of VisualDSP++ 5.0.
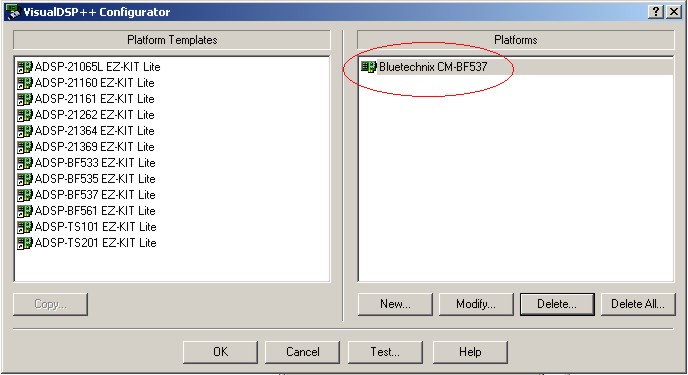
2. Select "New…"
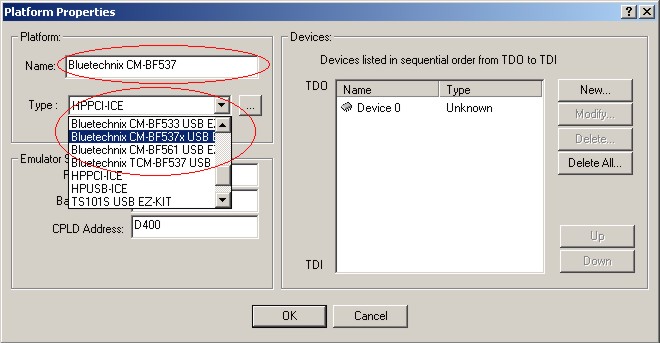
3. In the "Type" box select the Bluetechnix entry corresponding to the core module on your DEV-BF5xxDA-Lite board.
4. Enter a Name for the Platform for example "Bluetechnix CM-BF537E".
5. Select "Ok". The created platform should appear in the "Platforms" section of the "configurator" window.
6. Press "Ok" to close the VisualDSP++ Configurator.
The last step is the creation of a VDSP++ debug session. Please follow the instructions below.
1. Open the "New Session Wizard" from the pulldown menu of the VDSP++ (SessionàNew Session) or press the "New Session" button on the "Sesson List" window that appears on startup of VDSP++.
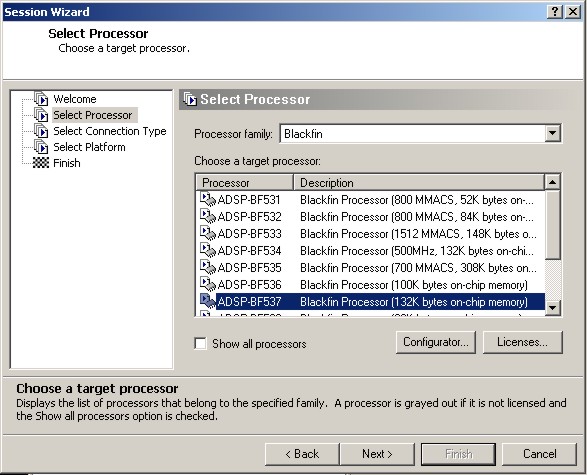
2. Select the processor corresponding to your core module and press "Next".
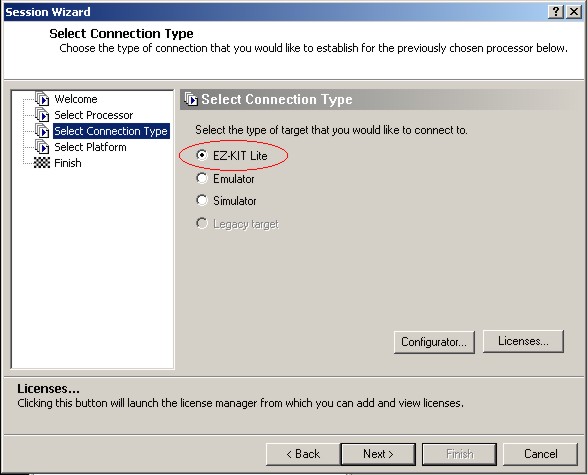
3. Select "EZ-KIT Lite" and press "Next".
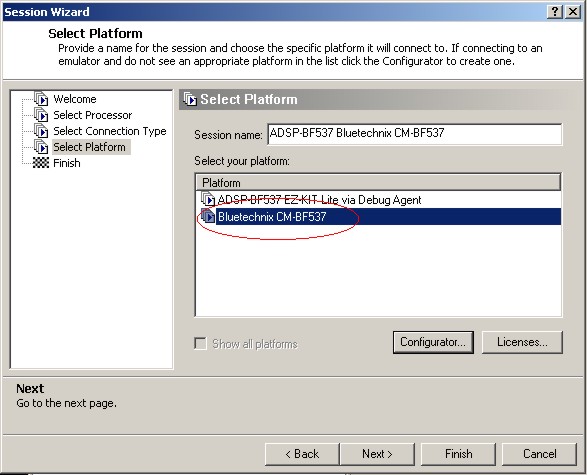
4. Select the platform that you have created with the VisualDSP++ Configurator and press "Finish".
Now the session is ready and VDSP++ should start with this settings. The core module on the DEV-BF5xxDA-Lite is now ready for debugging.
For further information about the session wizard and the VDSP++ tools please refer to the VDSP++ manuals downloadable from the Analog Devices website.
If you change your core module on the DEV-BF5xxDA-Lite you have to reconfigure VDSP++ starting with the install tool as described above.
