Ubuntu 14.04 for i.MX6
Zur Navigation springen
Zur Suche springen

Bluetechnix offers an SD card image for the CM-i.MX6 Quad with Ubuntu version 14.04 LTS (Trusty Tahr).
- This Ubuntu image was built from Ubuntu Core for armhf platforms (ubuntu-core-14.04.1-core-armhf.tar.gz).
- The image uses boot loader (U-Boot), Linux kernel 3.0.35, and kernel modules from our i.MX6 Linux BSP (version 3.0.0 currently).
Features
- LXDM login manager
- LXDE window manager (the one which is used in Lubuntu)
- HDMI display output
- USB keyboard and mouse support
- Serial console
- build-essentials pre-installed
- Mplayer video playback
What's not supported currently:
- i.MX6 VPU, GPU
- Audio
- Feel free to contact Bluetechnix Sales for custom enhancements!
Download
- Version date 2015-06-22
- URL
- Files
- cmimx6q-ubuntu14.04-sdcard-lxde_20150622.bin.bz2 (BZIP2-compressed SD card image for CM-i.MX6 Dual/Quad)
- Supported hardware
- CM-i.MX6 Quad/Dual V1.2.x
- DEV-i.MX6 V1.1.x
- Kernel/Boot loader base
- These images contain U-Boot and Linux kernel from the v3.0.0 Linux BSP.
- License
- Ubuntu Core: Note that if there's a commercial intent to your use, then please familiarize yourself with the Ubuntu trademark and copyright policy.
- Kernel: GNU GENERAL PUBLIC LICENSE Version 2 (see file COPYING in the Linux kernel's source tree)
- U-Boot: GNU GENERAL PUBLIC LICENSE Version 2
- Changes
- - Added missing module dependencies files (loading kernel modules failed)
- Version date 2014-08-29
- URL
- Files
- cmimx6q-ubuntu14.04-sdcard-lxde_20140829.bin.bz2 (BZIP2-compressed SD card image for CM-i.MX6 Dual/Quad)
- Supported hardware
- CM-i.MX6 Quad/Dual V1.2.x
- DEV-i.MX6 V1.1.x
- Kernel/Boot loader base
- These images contain U-Boot and Linux kernel from the v3.0.0 Linux BSP.
- License
- Ubuntu Core: Note that if there's a commercial intent to your use, then please familiarize yourself with the Ubuntu trademark and copyright policy.
- Kernel: GNU GENERAL PUBLIC LICENSE Version 2 (see file COPYING in the Linux kernel's source tree)
- U-Boot: GNU GENERAL PUBLIC LICENSE Version 2
Setup instructions
- You need an SDHC card with a minimum size of 4 GB. The image has a size of 4,000,000,000 bytes. We recommend a fast SD card as it expedites I/O operations. See: [1].
- You need a PC with an SD card slot.
- Download the selected image.
- Linux instructions
- Decompress the downloaded image: bunzip2 <image>.bin.bz2 (or use any GUI tool to unpack).
- Decompressing will leave you the file <image>.bin.
- Plug in the SD card.
- Find out the SD card block device file, e.g. by entering dmesg after inserting the card. On most PCs, it is either sdx (last letter varies!) or mmcblk6 (number varies!). Double check this! You may corrupt your PC's hard disc if you take the wrong device!
- If the automounter automatically mounts the SD card, unmount it. Check with mount.
- Write the image to the SD card (this makes a bit-wise copy): sudo dd if=<image>.bin of=/dev/sdx bs=1M
- To be on the safe side, do a sync.
- The SD card is ready!
- Windows instructions
- Decompress the downloaded image with the program of your choice. Note you need an external tool to handle bzip2-compressed files, e.g. 7Zip.
- To program the image to the SD card using a Windows PC, have a look here.
- Continue
- Put the SD Card into the CM-i.MX6 SD slot and adjust boot mode settings. For setting the DEV-i.MX6 DIP-switches for SD-boot see here.
- Supply power to your board, and switch it on if necessary.
- We recommend to connect
- Wide screen monitor via HDMI cable
- USB mouse
- USB keyboard
- Ethernet (If DHCP is available, Ubuntu will use it to get an IP address.)
- If an Ethernet connection is available, the system time in Ubuntu will be synchronized automatically with an NTP server.
Login
- User
- blt
- Password
- blt
You can gain root privileges by using sudo and entering the user's password.
The following logins are available:
- Serial terminal
- SSH connection via Ethernet
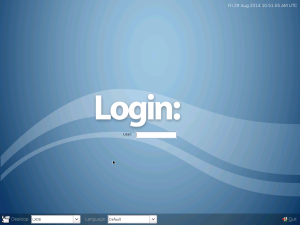
- Graphical login with LXDM
Serial console
Simply connect to the USB-UART converter on the DEV-i.MX6 board by connecting your PC with connector X27 (Mini-USB).
Ubuntu 14.04.1 LTS cmimx6q ttymxc3
 ____  _            _            _           _
| __ )| |_   _  ___| |_ ___  ___| |__  _ __ (_)_  __
|  _ \| | | | |/ _ \ __/ _ \/ __| '_ \| '_ \| \ \/ /
| |_) | | |_| |  __/ ||  __/ (__| | | | | | | |>  <
|____/|_|\__,_|\___|\__\___|\___|_| |_|_| |_|_/_/\_\


cmimx6q login:
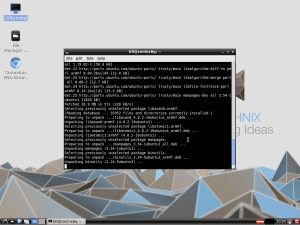
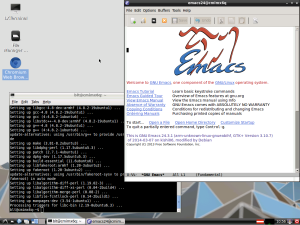
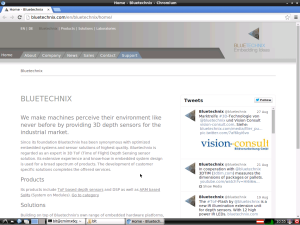
Screen shots
SD Card backup (Image creation)
If you customized the running image and want to create a binary image from the SD card, use the following instructions.
- Shut down the running target.
- Insert the SD card into the slot of your Linux PC.
- If any partition of the SD cards gets auto-mounted, please unmount it (Check with mount command).
- Draw the image
dd if=/dev/sdX of=sdcard-image-customized.bin bs=512 count=7000014
- Note /dev/sdX is the block device file of your SD card.
- 5. Optionally, compress it:
bzip2 sdcard-image-customized.bin


